Materials & Costs | Part 1 | Part 3 | Part 4
Day two of our kitchen counter remodel has fared well with good results!
We picked up first thing this morning with sanding down the wood fill and the entire island to prep it for the stain. A belt sander makes this task so much easier!

Since all of our cabinets are white and the rest of the walls are knotty pine, we decided to go with a black stain to offset the brown wood and white cabinets. This is what it looked like rag rubbing the first coat:


While the first coat of stain dried we did the measuring and cutting for the rest of the left side of the U shaped counter. You can see the lip/shelf we added on the outer edge.


Once we had the correct cuts and fittings, we once again glued the boards and clamped them to dry:

While the glue was drying and the stain was drying we began ripping out tile on the back side of the U counter:

Tiles removed, then the actual counter removed, which was dry rotted on the edges as the other one was:

Once again we measured and cut boards:

Then glued and clamped some more (see how unusable the kitchen is becoming?):

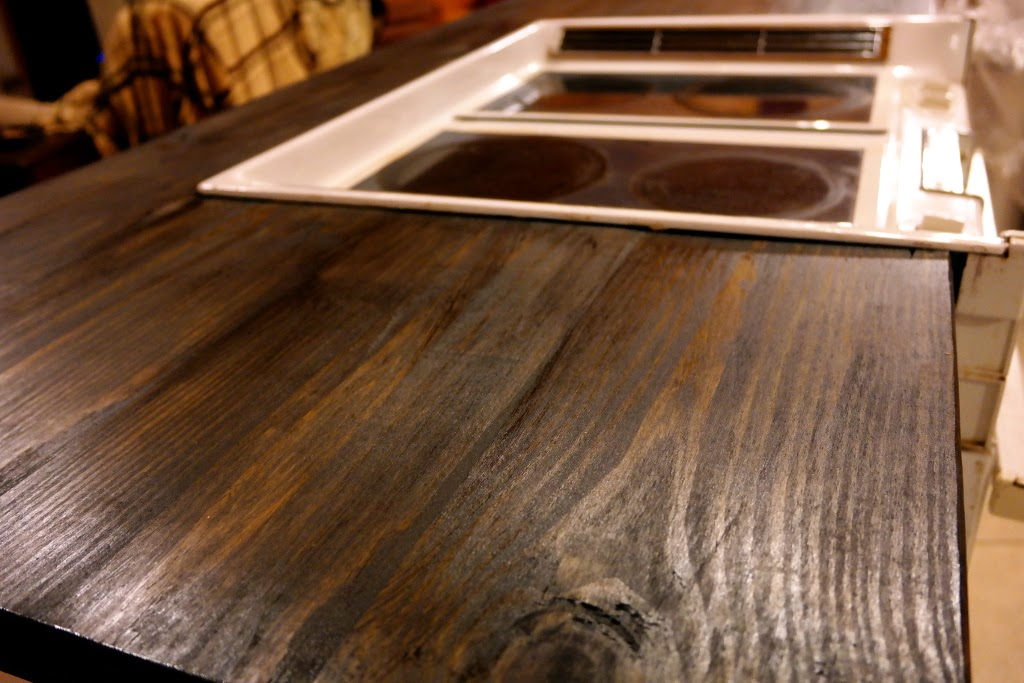
After two coats of black stain we decided we were happy with the color and temporarily put the island in place to ensure it looked ok. I’m glad we did as we found a couple of spots that needed to be sawed down in order to fit back on, which allowed me to retouch before sealing the counter. I’m loving the color!

Since we will be sanding more tomorrow and I wanted to get a jump start on the polyurethane sealing, we moved the island into the bedroom so it can be closed off from the dust in the air. I got the first coat on tonight and it really pulls out the wood grain. It will require at least 5 more coats, applied in 12 hour intervals. So now the waiting game begins….but I think it will be well worth it!

Materials & Costs | Part 1 | Part 3 | Part 4
