If you are anything like me you have a stupid amount of earrings crammed into tiny jewelry box drawers where they get all tangled together and half of them are never worn because you forgot you even have them. Nevermind trying to find a matching pair as you are running out the door. So, I brainstormed with my husband, who does a lot of 3D printing, and we came up with a solution to display all my earrings on an organizer that hangs right on the wall. Just pick a pair and go! I’ll explain how we made it and the materials needed.
Materials
- Blank Wood Sign
- Vinyl Cutting Machine – I use the Cricut Maker
- Cricut SVG Files of choice. I used:
– Peacock
– Peacock Feather
– Boho Bird
– Boho Feather - Adhesive Vinyl
- Hot Glue Gun
- 3D Printer & Filament
- 3D Printer File for Jewelry Holder (Free file)
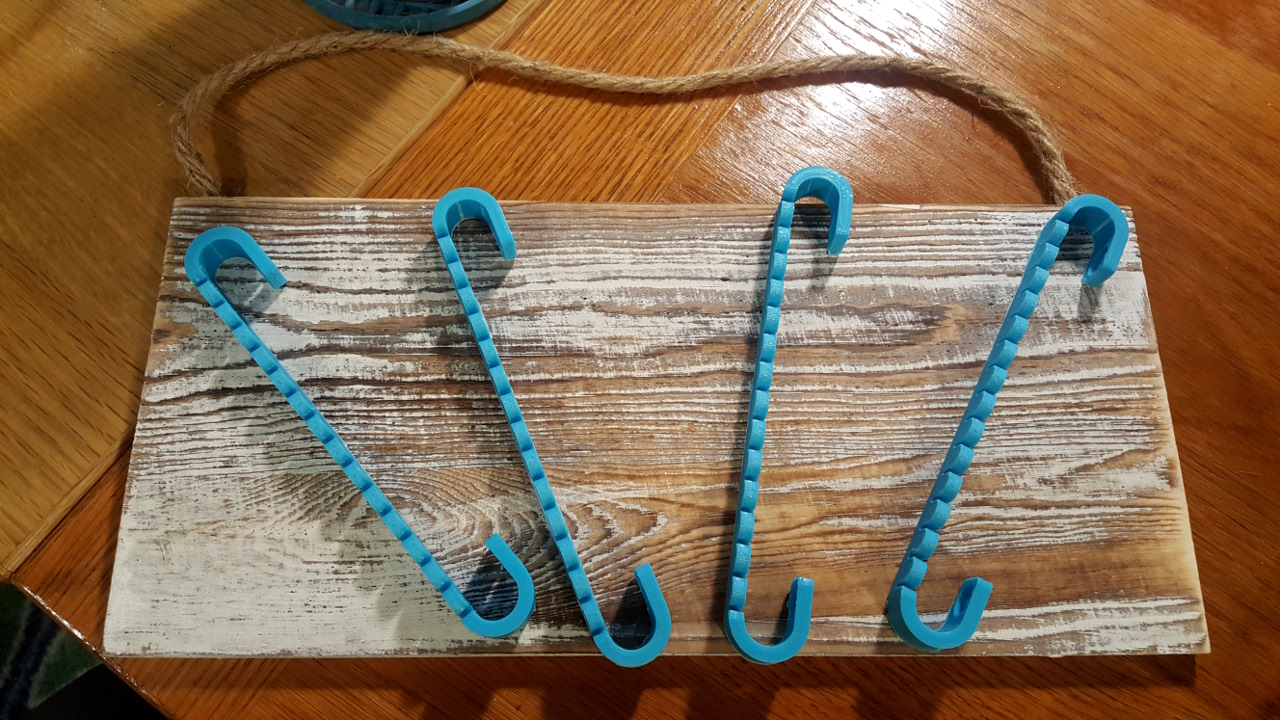
The first thing I did was ask Jason to print the earring mounts on his 3D printer. He made two small sections per row to ensure they were sturdy enough, but I think one all the way across would have worked fine as well since earrings really aren’t that heavy.
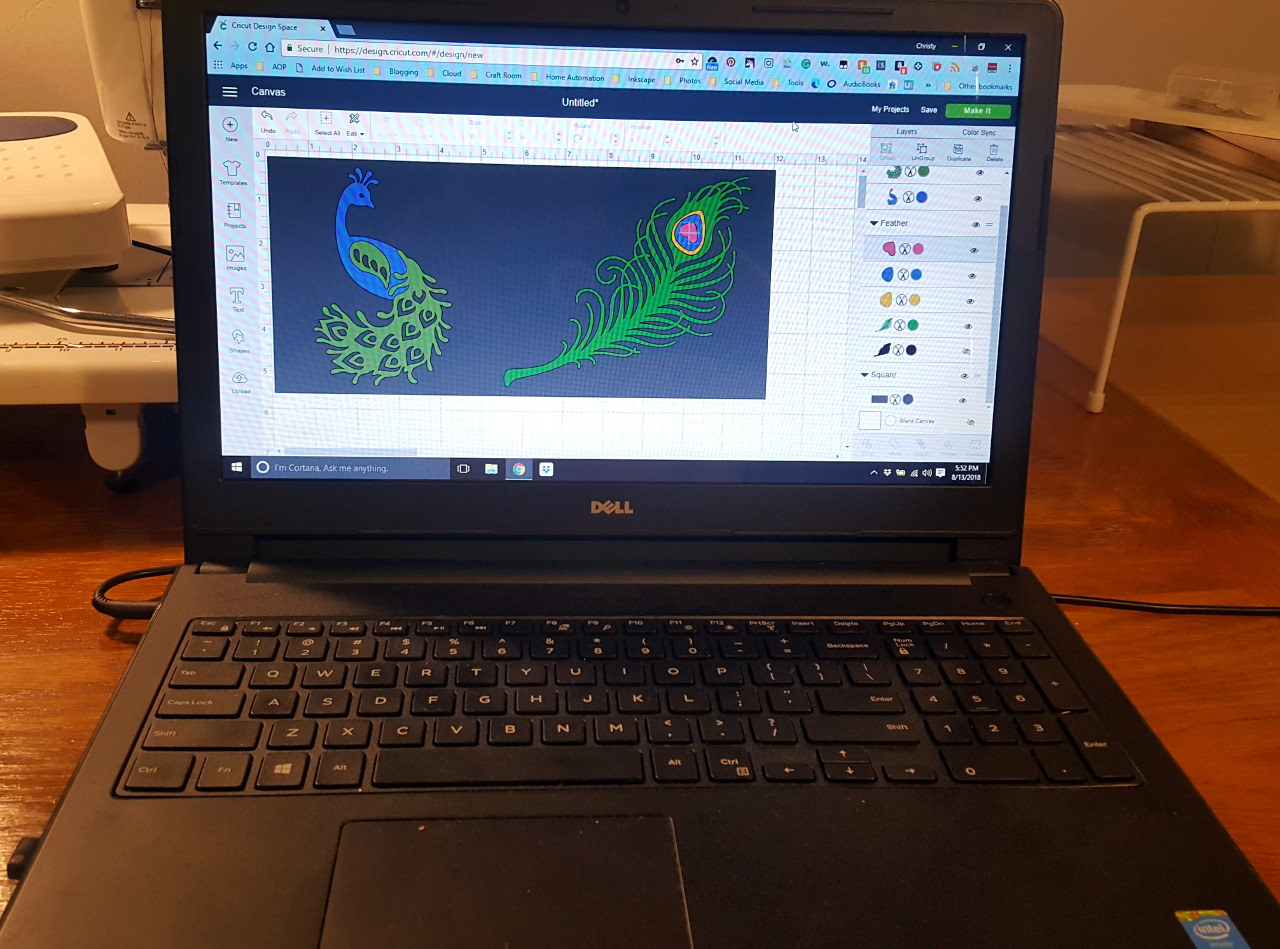
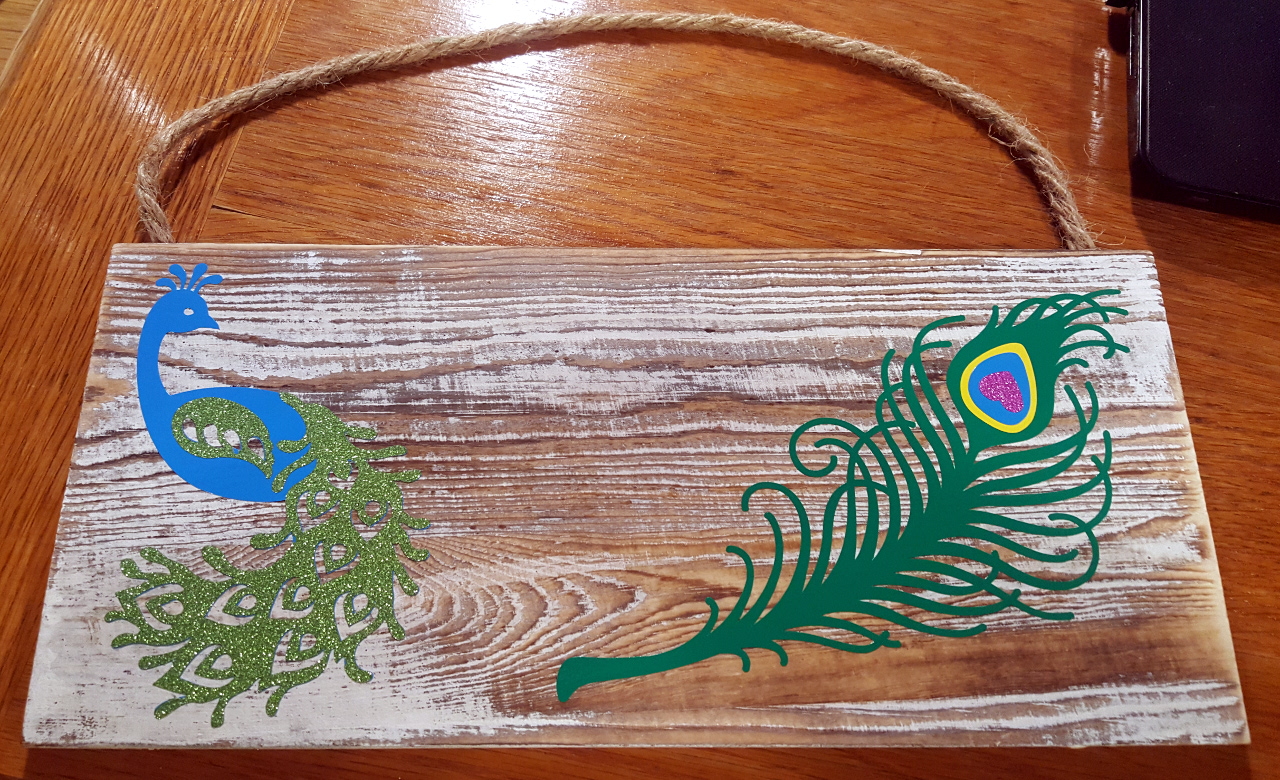
Next, I used Cricut Design Space to create a template of my sign ( the gray box) so I could size my vinyl correctly and then searched around for a design I liked. I ended up choosing the peacock and peacock feather for this one ( my guest room where I get ready is getting redone in a peacock theme ). The two files (see above) are free with Cricut Access. I sized the images, chose my colors and then printed everything on my Cricut Maker.
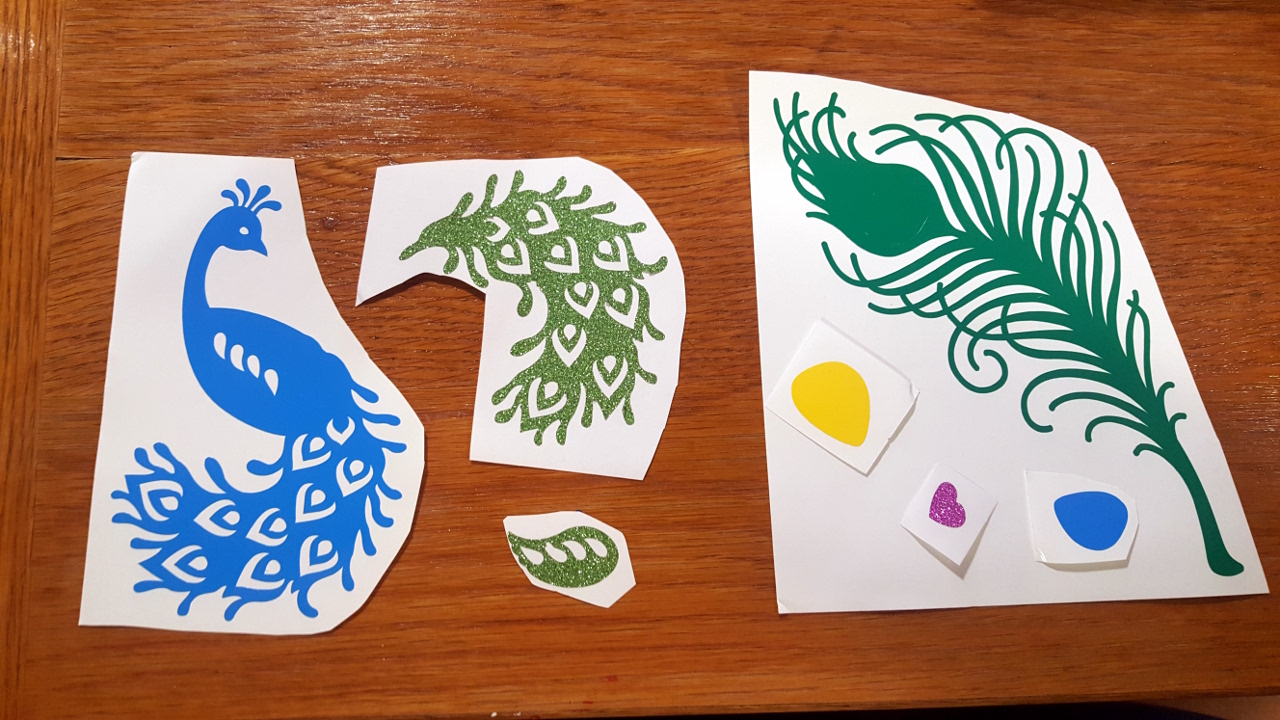
Here are the vinyl pieces all cut out, weeded and ready to layer and place on the sign.
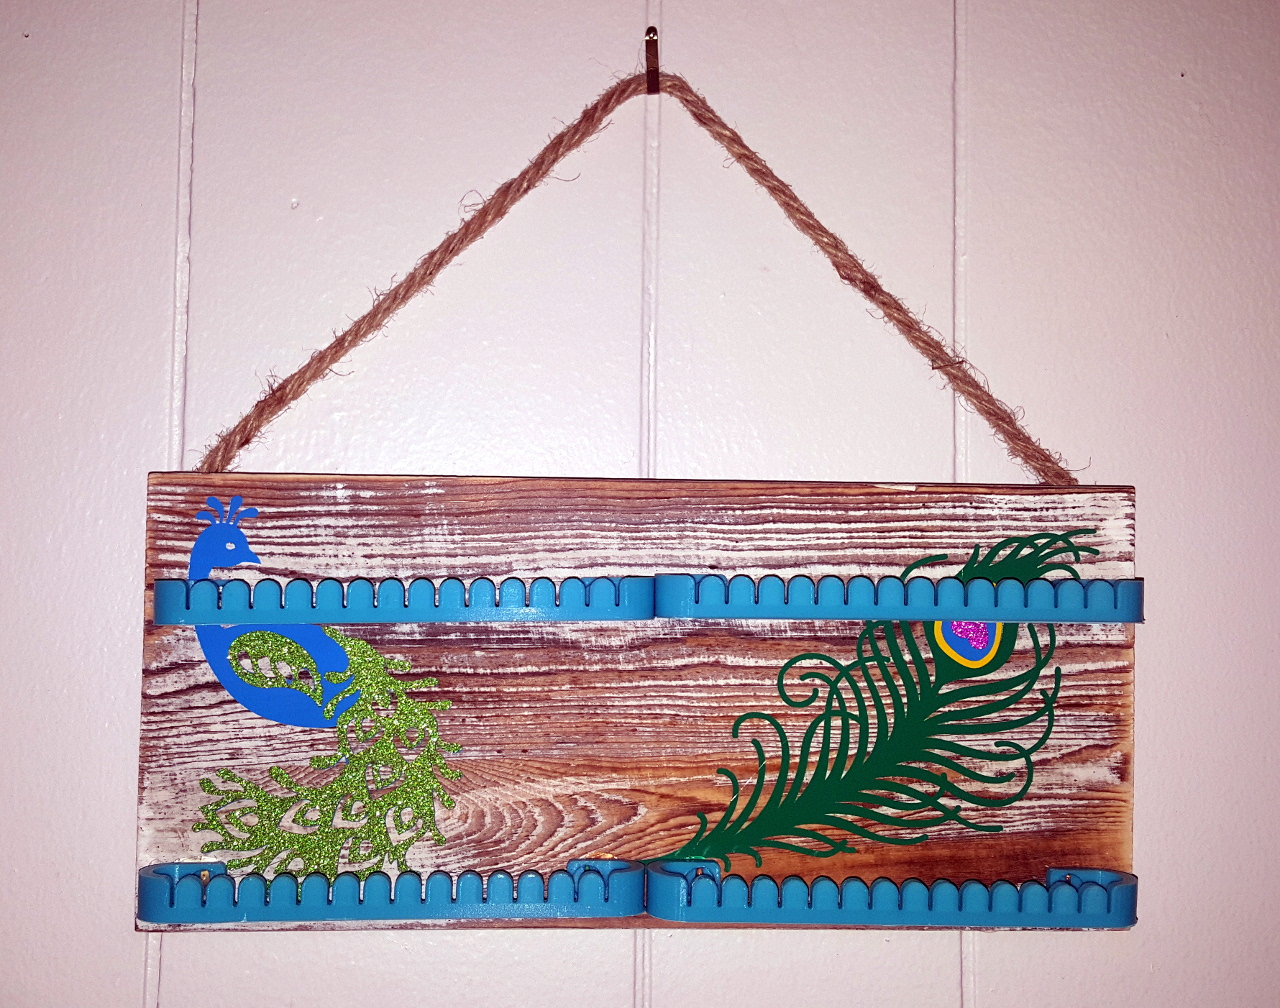
Place the vinyl where you want it on your sign and burnish it down really well to adhere.
I used hot glue to adhere the earring mounts to the board and it adhered very well and very fast. I wasn’t sure how well hot glue would do with plastic and wood, but it worked perfectly and those mounts aren’t budging!
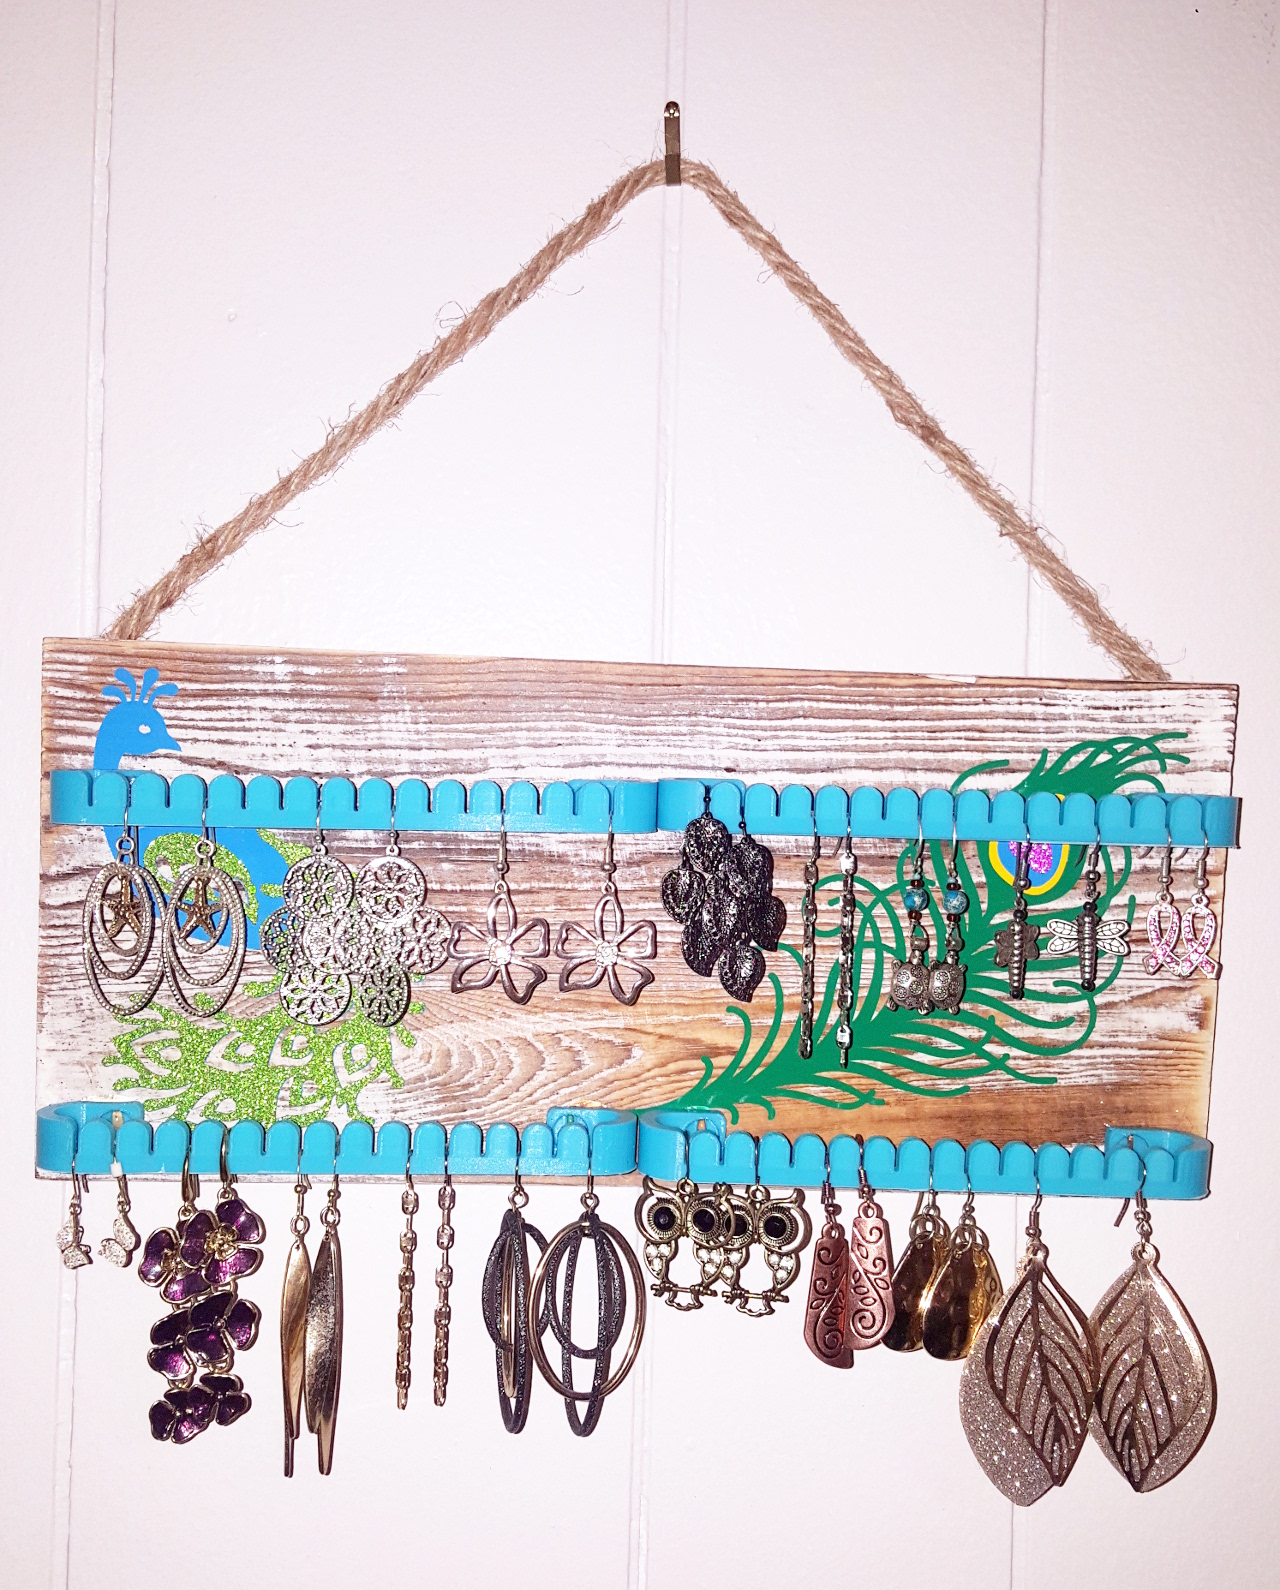
Then, just add earrings! I will be making one or two more of these and attaching them under one another with small chain. The mounts will also hold bracelets and necklaces as long as they are thin enough to fit inside the grooves, but I bought some teacup hooks to screw to the bottom of the last board for hanging those. I’ll update with photos of that once it’s completed.
Then ta da! Cute, functional, and practical….and a fun craft project to boot!
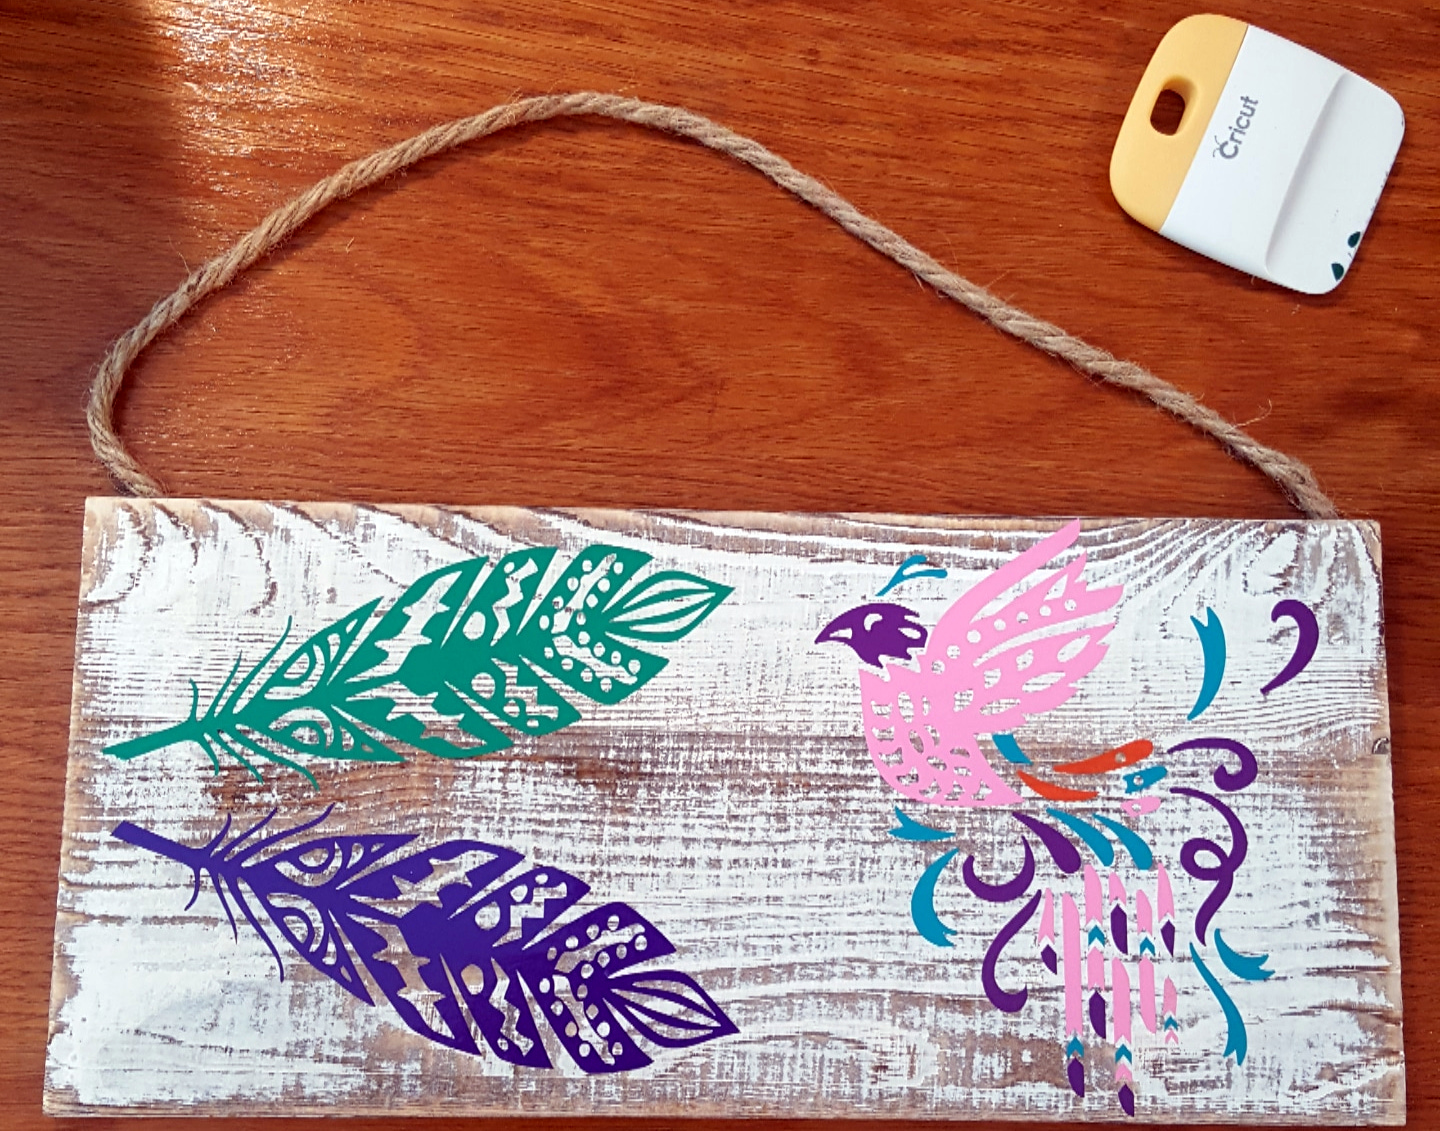
Editing to add a second tier. I created a second holder the same as the first but using the Boho bird and feathers design.
I added teacup hooks on the bottom to hang bracelets and necklaces. I also added 2 teacup hooks to the bottom of the first plank to hang the second plank.
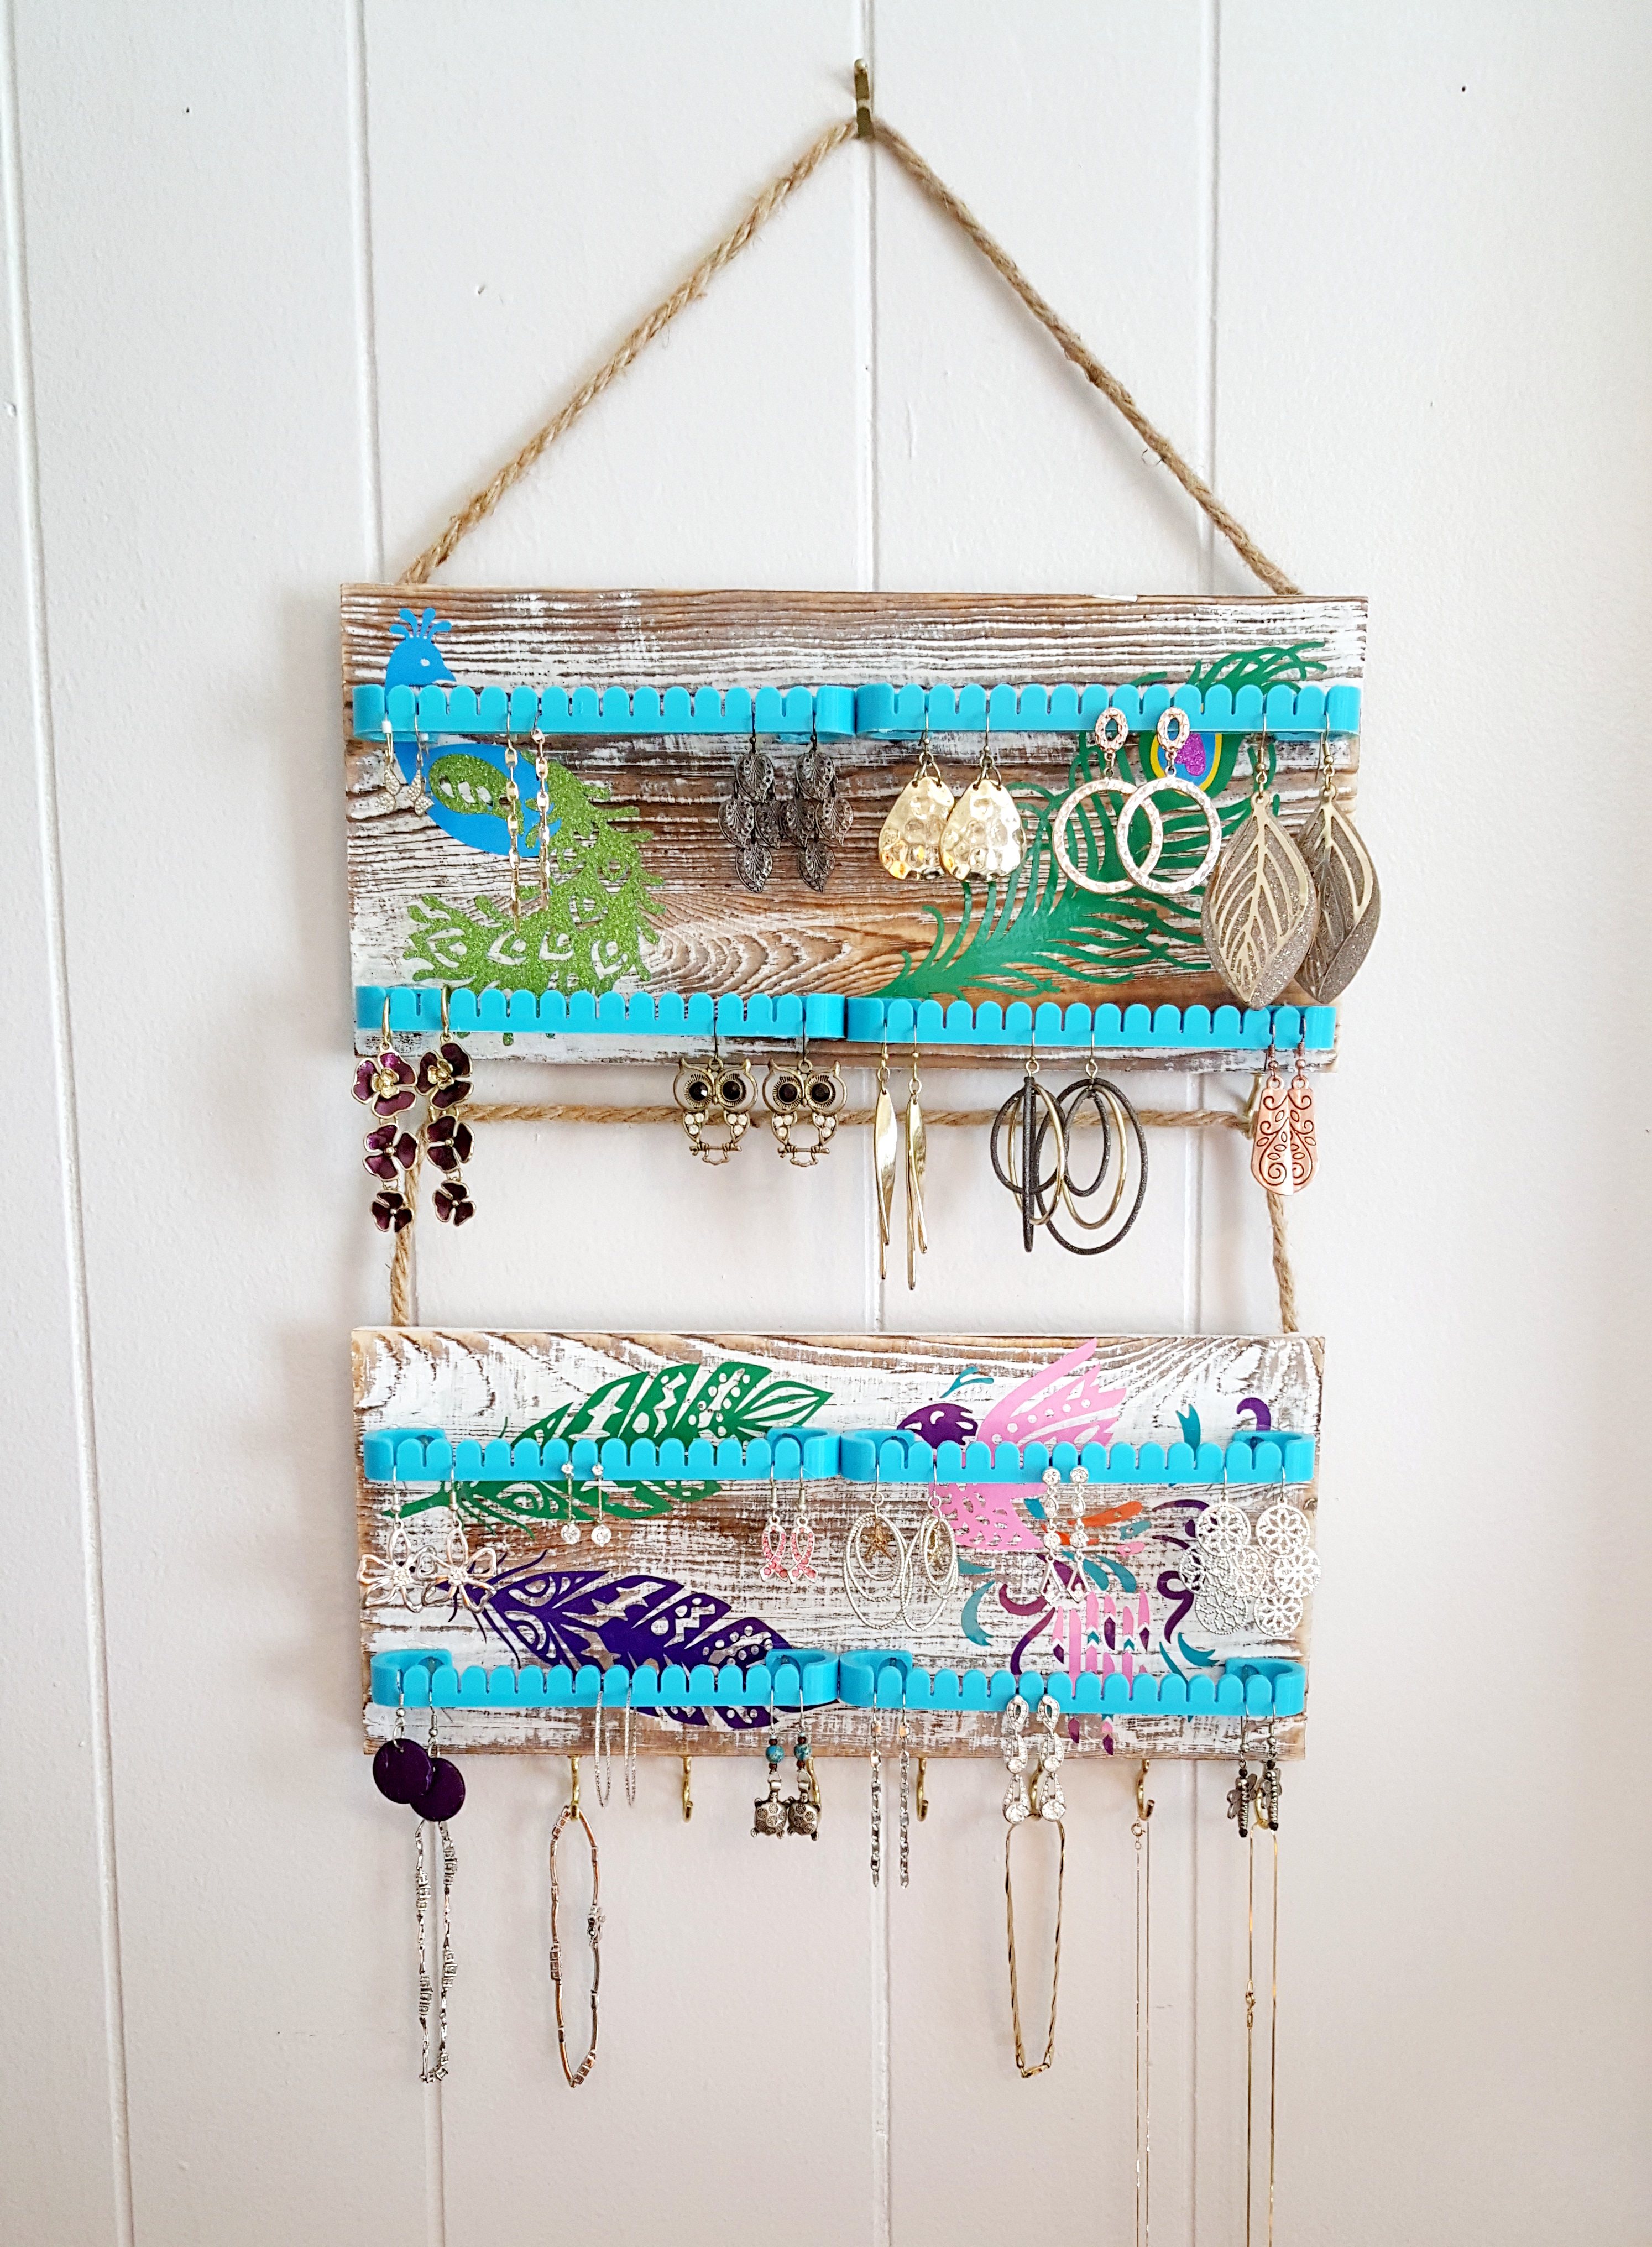
Later, if needed, I can add a third tier. Yay for no more digging through and untangling jewelry!
*Disclosure: If you purchase from our links we may receive a small commission, so thank you for supporting Raining Crafts and Dogs when you shop! All of the opinions are our own and we only suggest products that we actually use.
