
Materials & Costs | Part 1 | Part 2 | Part 4
As I wait for stain coats to dry I figured I’d write up Part 3 of our kitchen counter remodel adventure. Part 4 will be the final post with final photos, which should be done sometime this weekend!
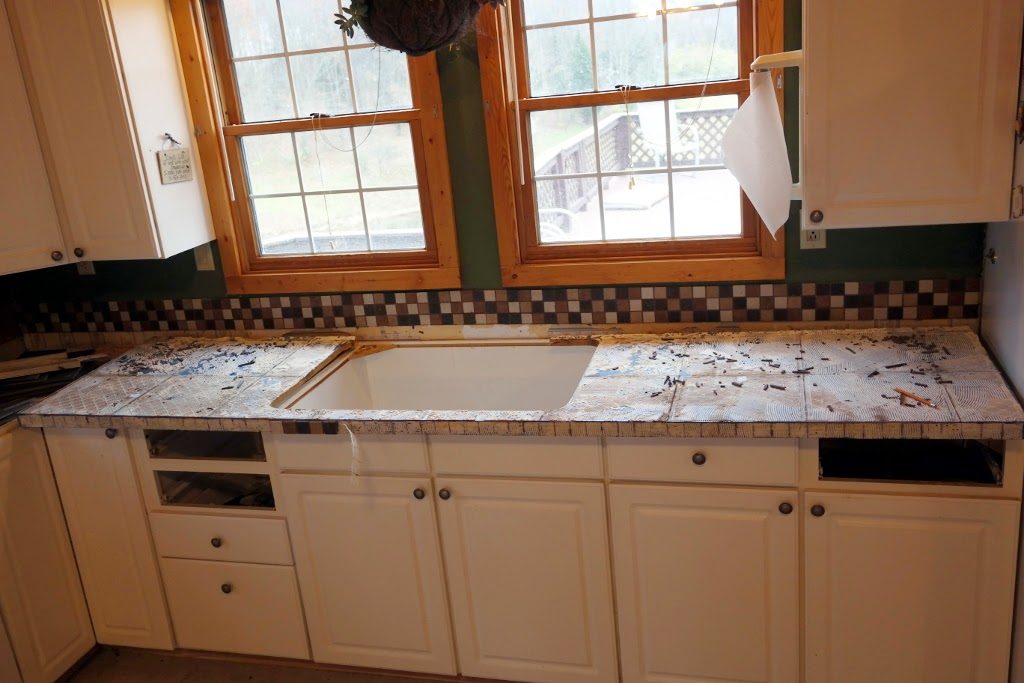
So yesterday we picked up with removing tile from the sink (and final) side of the U shaped counter. Jason removed all the plumbing attachments so he could take out the sink and then we removed all of the tiles from the counter for the last time (yay!):
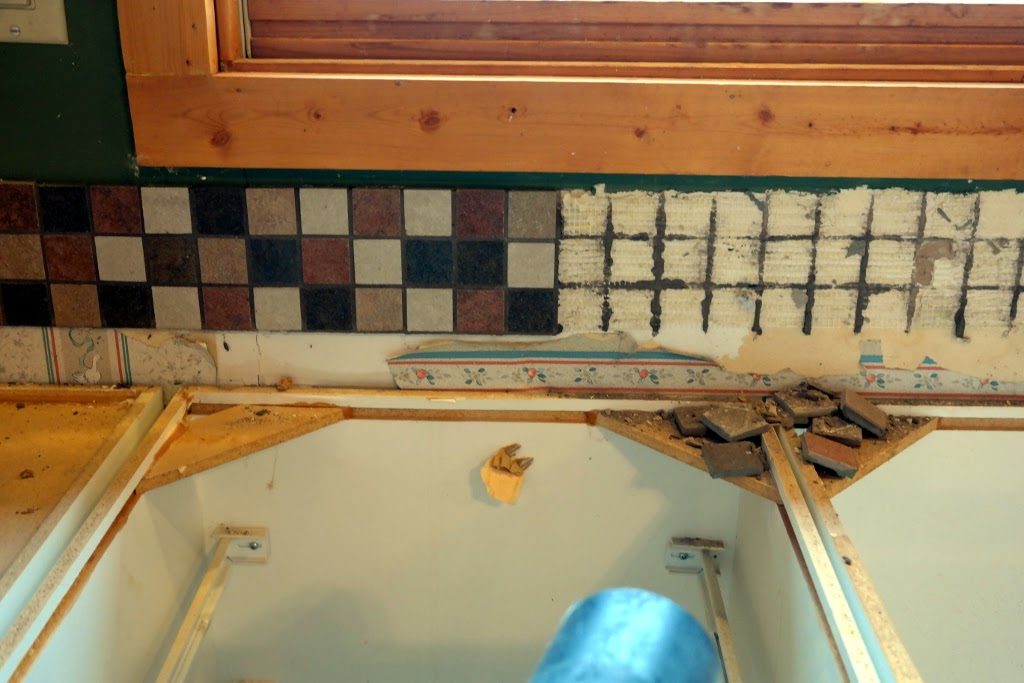
While Jason made a Home Depot run I started sanding the other two counters and removing all of the backsplash tiles with a rubber mallet and putty knife. This area will be patched and prepped for a new coat of paint. All of the green will be replaced with a light blue-gray color called “Boot Cut”. (Look at that lovely wallpaper underneath all that – so glad we didn’t have to deal with that mess.)
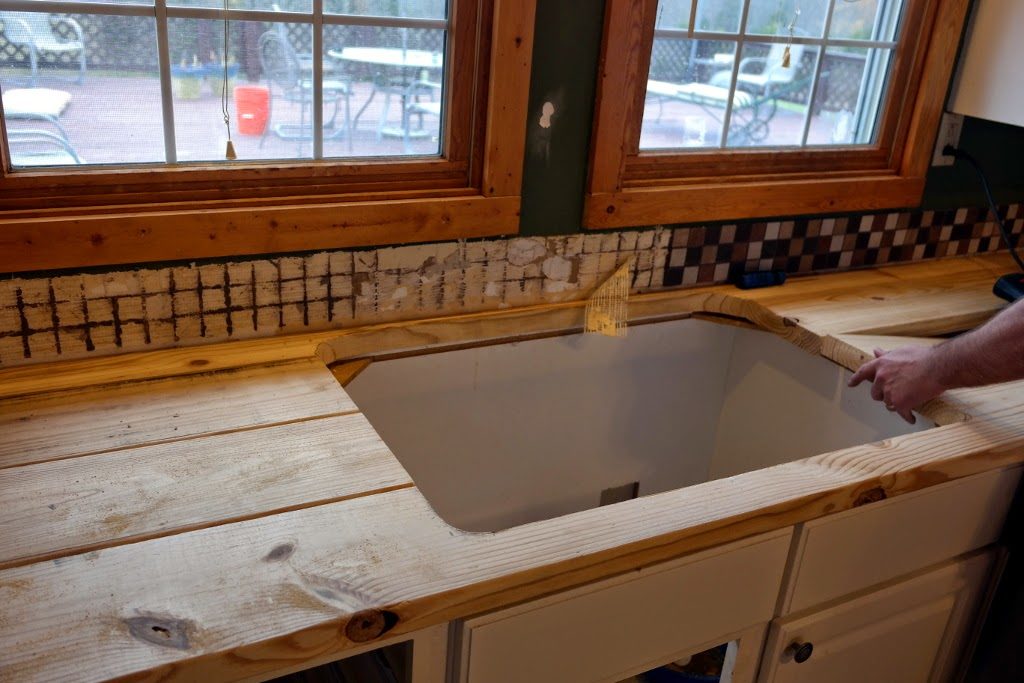
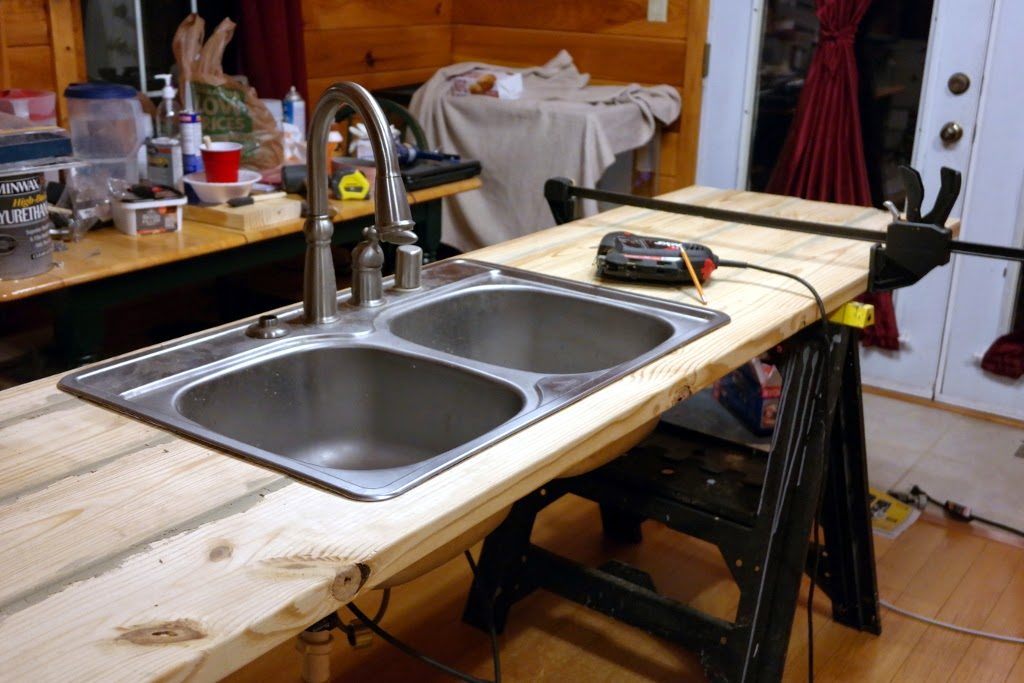
We then cut the boards for the sink side of the counter. The front and back boards are one piece that Jason jigsawed for the kitchen sink hole. The boards on either side of the sink are, of course, separate:
While that was drying I began the first coat of black stain on the left and bottom counters:


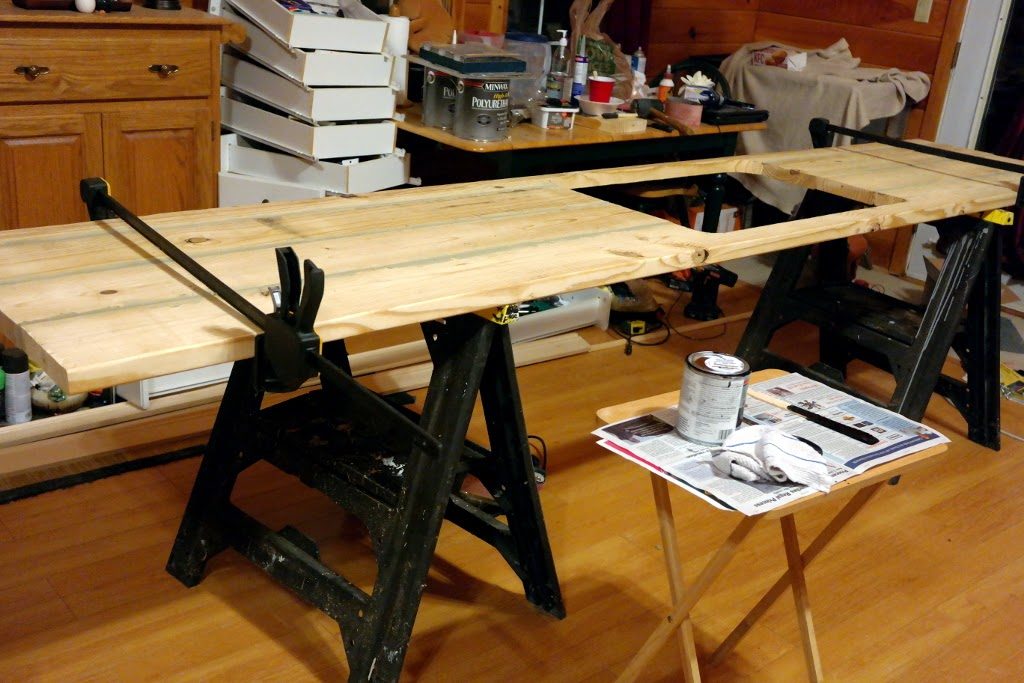
We checked on the polyurethane status and it appears that 5 coats will get us the shine we want, so technically the island section is done and ready to install, but we want to finish up the assembly of the rest of the counters before we install it:

Before we quit for the night, Jason made some adjustments to the sink hole for a perfect fit. ( Can you spy the elusive tape measure? It never seems to be in sight when we need it… ).
So now, it’s a matter of staining, waiting, polyurethane coats and waiting times five. Then after a decent dry time we’ll be able to install them. I’m hoping by Saturday evening we’ll have everything assembled and back in working order. We will wait a week before putting appliances on the counters to give them full time to cure without denting the finish with rubber appliance feet.
Final photos and costs will be posted in Part 4 this weekend! I, for one, can’t wait!
Materials & Costs | Part 1 | Part 2 | Part 4
